In an effort to combat improper footwear in cosplay I present the following:
This is a tutorial for making Ninja style sandals as frequently seen throughout the series Naruto
Pros:
- Quick and Easy
- Cheap, Probably $15 or less
- 95% Accurate
- Requires Little or no skill beyond what you've learned in elementary school
- When it's this easy there's no excuse not to have a pair
- Comfortable because the base is still a real shoe
Cons:
- Not immensely durable. 2-5 wearings depending on activity level
- 5% Inaccurate (The little roll/seam that is on the toe and heel)
Step 1: Supplies
-Scissors
-Sandals
-Hockey Tape
-Knee Length Athletic Socks
My Supplies: Link
As you can see I used strapped sandals. Thong sandals would only work if you wanted to keep the thong (like sand village sandals). Flip-flops will technically work but really dont look as good because the back tends to suck in to the overhang between your heel and the end of the sandal. The back strap provides support and keeps an even rise on the back. The tape should be the same color as the socks. The socks should be, but dont absolutely have to be, long, which will be explained further later. Lots of the socks will have a logo on them but when its on the ankle or higher it wont be any trouble. I've also colored over a logo with a black sharpie one time I made them and it worked fine as well.
Step 2: Creating the Base
The base is made by pulling the sock over top of the sandal.
Link
Link
Obviously the bigger the socks that you got the easier this will be. However, the socks that I used in the pictures (the third time I made them) I used Size 6-8 Socks to cover size 13 sandals. They were a little shorter than I would have liked but it turned out well.
Step 3: Making the Cut
Ive used the same sandals each time Ive done this. I try to follow the line of the sandal to make the cut.
I marked it out here with a fabric pencil (optional, I only did this for the demo)
Link
From there I used scissors to cut across following the end of the sandal and the line I had drawn. Personally I just tuck my toes back and slice through but it would be much safer to take the sandals off before cutting anything. Whatever youre comfortable with.
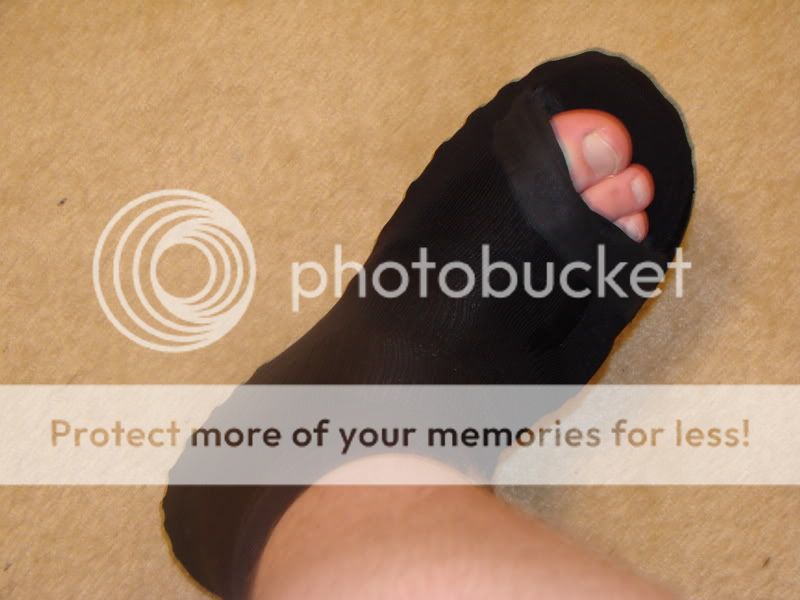
This is what it looked like after the cut:
Link
Step 4: Seal It Up
At this point the hockey tape is used seal the edges, keep it tight and keep it from fraying. The first place to tape is the top. Put tape the top of the sandal on the edge, wrapping it around to hold the sock to the sandal. Its a little weird to explain so heres a picture:
Link
The next place that needs to be taped is the other side left open by cut which is taped to the inside sole of the Sandal underneath where your toes would be. Another sample picture:
Link
This one wasnt quite as neat as some of the other Ive done but it works and you get the idea. In this part I had the sandals off for the tutorials sake but I've done it with the sandal on. Either way will work but leaving them on and having someone tape it up for you works really well.
Step 5: Finish Up
Looking at the reference pictures you can see that there is a larger cuff at the ankles. This can be created by folding down the extra length of the socks down into that cuff. Obviously this is the solution to there being a logo on the sock if there is one. If you dont have the extra long socks it wont look bad but its possible that a few people will notice the missing Cuff.
YOURE DONE!
Hoorah! Sandals! Your finished product should look something like this:
Link
Link
Link
For me its never taken me more than half an hour to make these, I could probably do it in less than 10 minutes if I tried. I even made a pair in the parking lot of a convention right before it started. If you have any questions feel free to ask!