Cost & Fabrics: My Akatsuki coat cost around $60 to make. It has a full lining (even in the sleeves), which makes it more expensive since it's more fabric, and the Heat 'n' Bond was also a bit pricey. However, the fabric I bought wasn't the cheapest I could buy, either - the black was $4.99 a yard, as it's a nicer linen/rayon blend. You could probably buy broad cloth (which ranges from $1.99 - $2.99) and save a lot of money. The red was a broadcloth fabric that was $2.99.
I bought 8 yards of the black fabric and 7 yards of red (five to do the lining of the cloak, and an extra two yards to make the clouds). I also bought two yards of white broadcloth for the backing on the red clouds. I am about 5'9" and not that skinny, so you might be able to get away with less fabric if you're shorter (obviously) and skinnier (because then you could lay the "pattern" out differently).
Any way you go about it, it might wind up being expensive to make this coat - simply because it's a LOT of fabric.
Pattern:
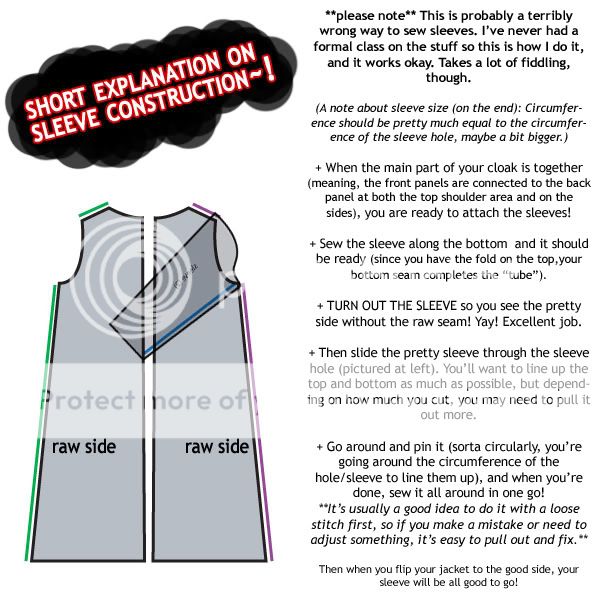 **PLEASE NOTE THAT YOU SHOULD NOT FOLLOW THIS PATTERN DIRECTLY.**
 While it would probably work out just fine, it was drafted in my head and is probably not the most accurate of patterns. Anyway: The colored lines show where you're supposed to sew things together. Like, green with green, etc.
For the body parts, chances are you won't be able to cut it out like that, so you can cut the pattern on the fold. (To do the lining, you need to cut doubles so you have red pieces that match the black ones.)
What I do suggest is that you go to your local fabric store and find their pattern section - patterns are usually pretty cheap and you can probably find a coat pattern that at least closely resembles what you need (and you can alter it).
For the most part, the construction is simple, but if you don't have any sewing experience with clothing at all you might get a little lost on the sleeves and the collar.
MeasurementsThe measurements depend on your size. The front and back panels are basically the length from your shoulder to where you want your cloak to end (accurately, they end around the knee or under it).
The sleeve is about the length from your shoulder to the tips of your fingers.
The collar's length depends on the circumference/length of the neck hole (I always do the collar once the coat is mostly together).
And obviously you need to make the panels wide enough so it can go around your body without being too small.
Everything really depends on your own body, but it's okay if you make it a little over-sized because that's just the way the coat is. It's okay to make something a little too big, you can always take in - if something is too small then there's not much you can do.
Specific Construction Bits:Lining - Basically, you're sewing two garments here. In the black, sew the body and arms together, then turn it inside-out. Then, in red, do the same - do NOT turn it inside out, but instead just slip it into the black. It should fit almost exactly, and you won't see any of the inside seams!

(Don't forget to hem, of course.)
Trim - (The two red lines on the front of the coat, I mean.) You could easily go out and buy a package or two of matching red bias tape to do this (and if you're easily frustrated, I really *do* suggest this), but I do it the hard way. When I'm making the red lining, I make sure the two pieces for the front are longer on the one edge. That way, when the lining is inside, there's extra of the red sticking out the front - I fold these pieces over in equal amounts and then sew it. BAM!
Collar - Probably a bit confusing. I have three layers, the batting (which keeps it more stiff and UP), the red fabric, and the black fabric. I sew it all along the top and then I flip it "inside-out" (it's really just one side) so the black is on one side, the red is the inside, and then the batting is in the middle. Then I sew the trim on it (see process under trim, it's like that but separately on the collar), double-checking that it's the right length for the collar of the coat (length around the neck), and then I have to attach it. To do this (and I don't have this down to a perfect science), align the collar open-side up with the neckline (all the way around!) of the main part of the coat. (In other words, align it black to black.) Then sew all the way across/around. It's tough to get at first, but sometimes it just takes practice and patience.
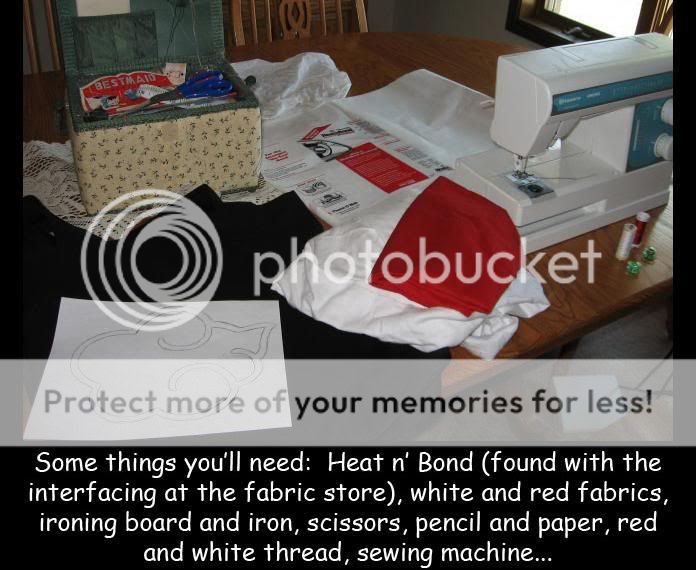
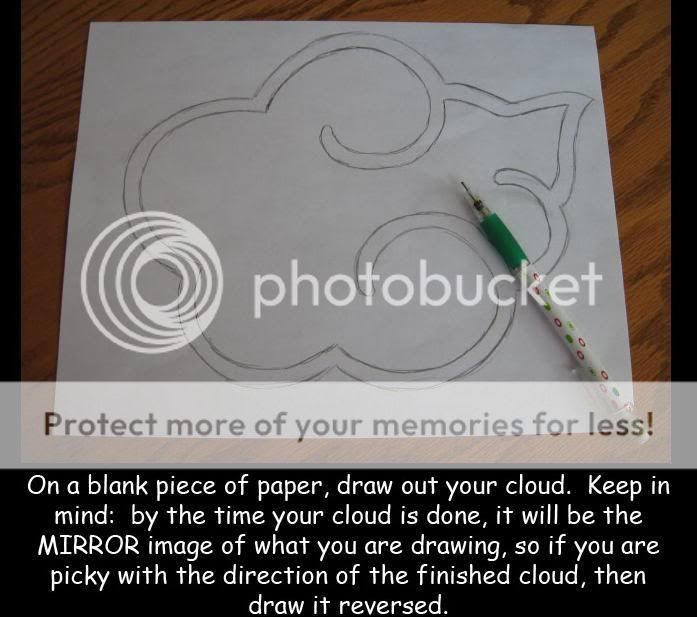
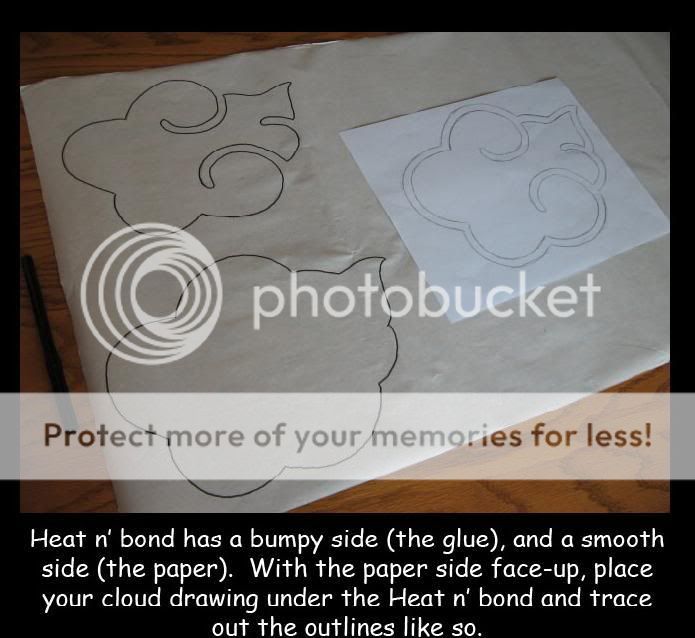
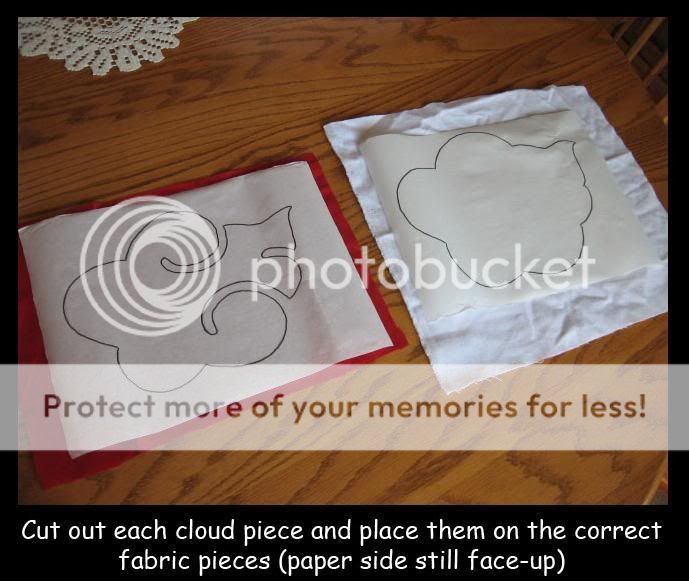
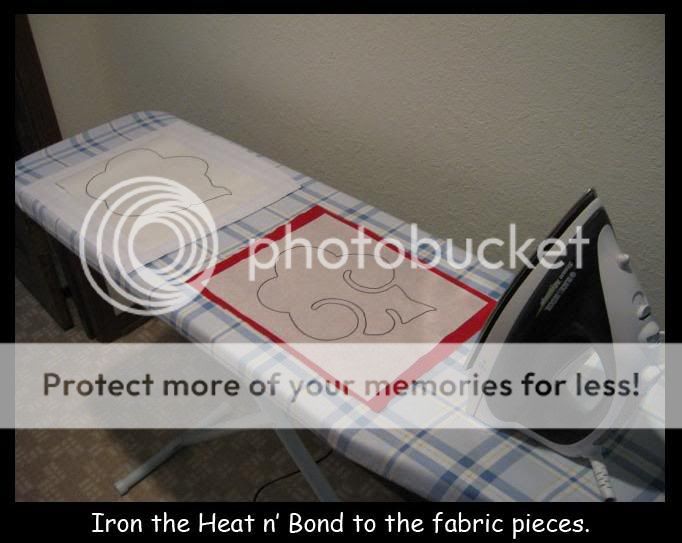
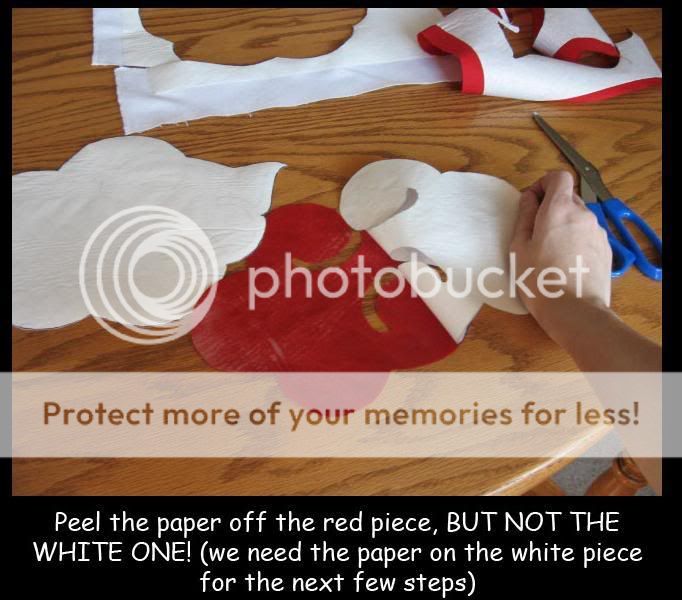
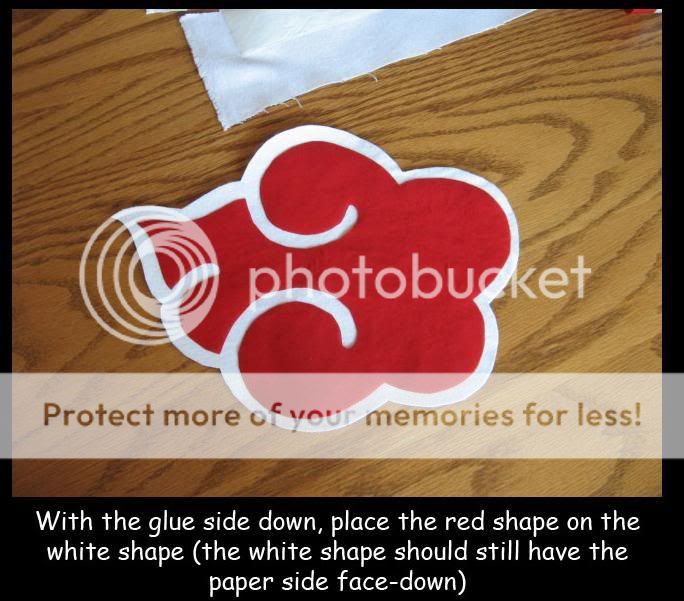
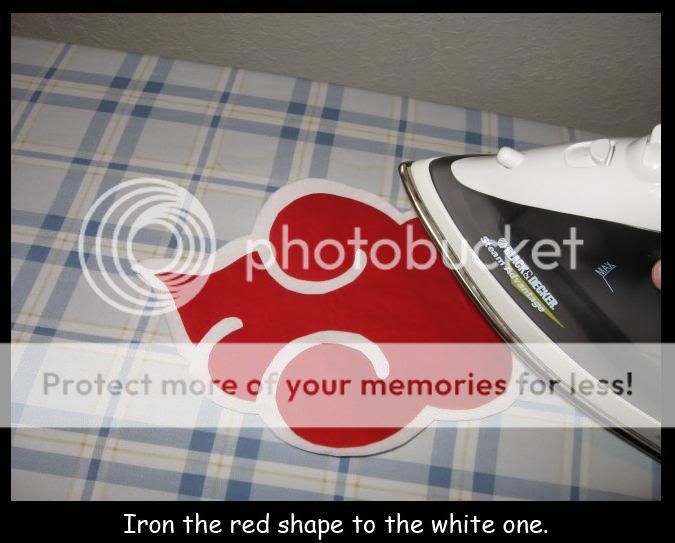
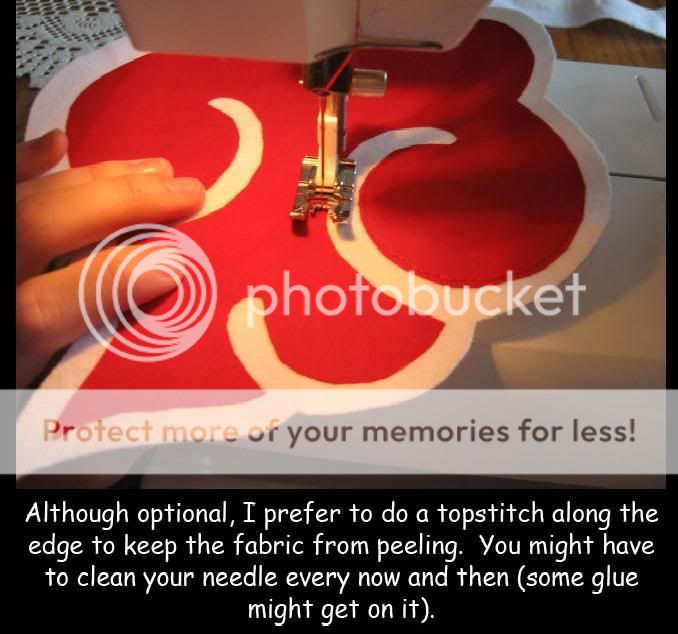
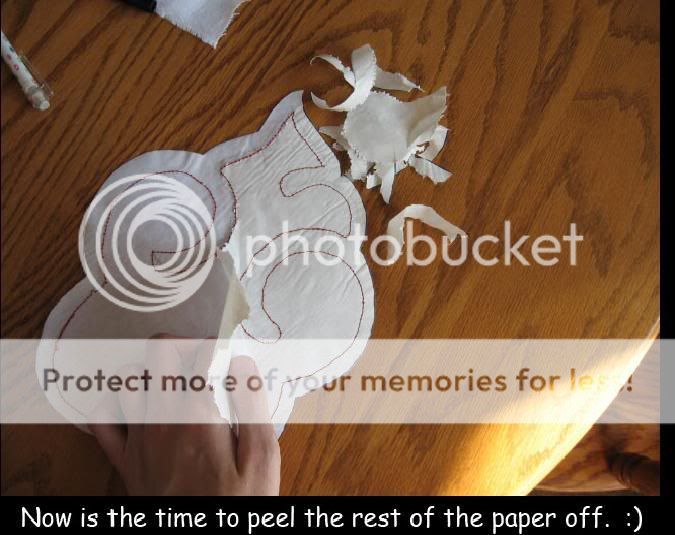
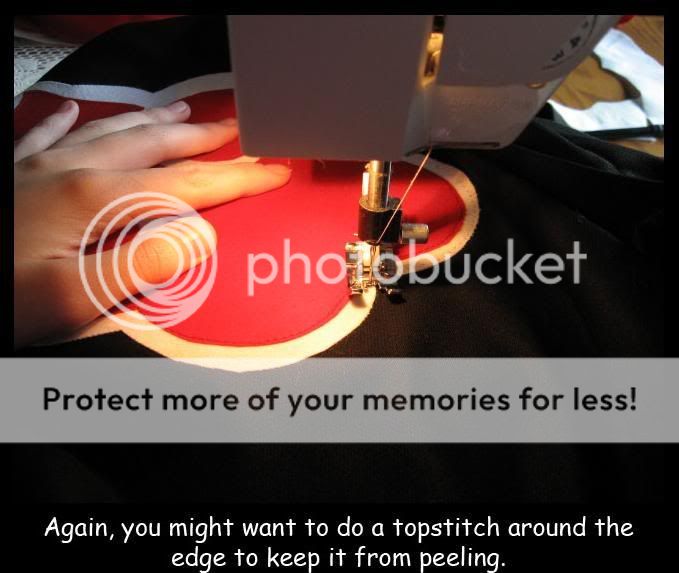
Clouds - Heat 'n' Bond. Bond HB to red fabric, cut out the red. Peel the paper backing off the red and bond the red to the white fabric. Cut out around the white. Then, peel off the paper backing on the white and bond it onto the coat. HB can be tricky and I suggest you follow the instructions, the iron settings, and maybe practice before doing the final thing.
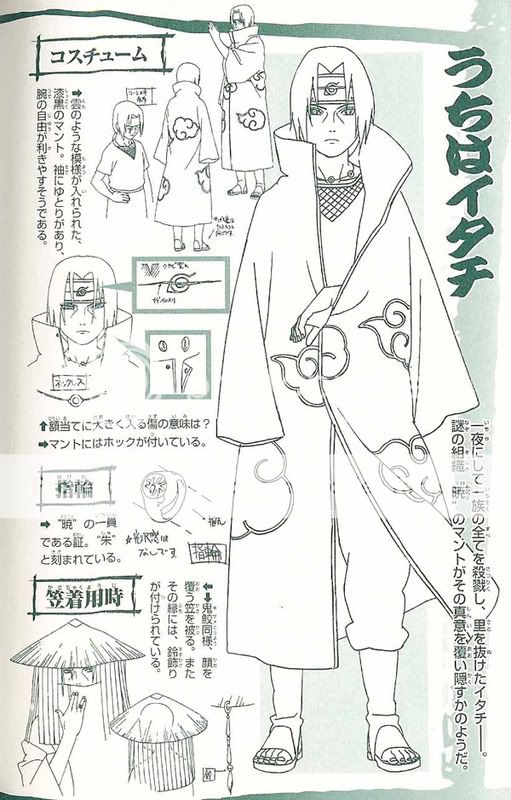
As for the shapes of the clouds? You can decide that and figure it out on your own. Manga references are tough because they vary a lot. I use Itachi's anime reference sheet.
Snaps? Zippers?: In the anime/manga (and in the reference images), they traditionally have snaps. Snaps look a lot nicer and while they take longer to do, it's ultimately a better solution. Zippers are good to be quick, and they don't look bad at all so this one's up to you:P
As for the clouds I followed this pattern and tutorial which I think is by far the best way and the best one out thereXD


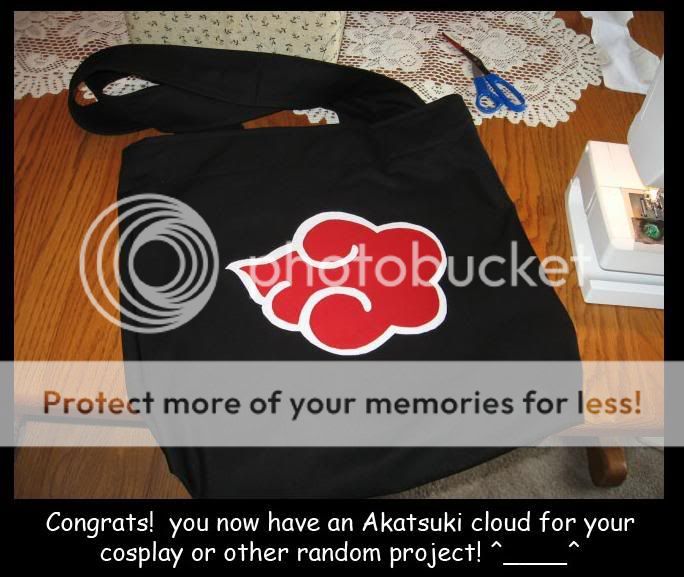 ENJOY AND HAVE FUN!